Accessing Raspberry Pi 4 Behind a 4G Router Using FR
Emil shares his method of using FRP to remotely access a Raspberry Pi 4 located behind a 4G router.
Accessing a Raspberry Pi 4 remotely can be challenging, especially when it’s behind a 4G router with no public IP. In my case, I needed SSH and web access to my Pi, but traditional port forwarding wasn’t an option. To solve this, I used Fast Reverse Proxy (FRP), a lightweight and efficient reverse proxy tool that allowed me to bypass the restrictions of my 4G network.
What is FRP?
Fast Reverse Proxy (FRP) is a free and open-source tool that allows you to securely expose a machine behind a NAT or firewall to the public internet. It consists of two parts:
- FRP Server (frps): Runs on a public server with a static IP (such as a VPS).
- FRP Client (frpc): Runs on the Raspberry Pi and establishes a tunnel to the FRP server.
By setting up FRP, we can access services like SSH, web interfaces, or any other application running on the Raspberry Pi.
Why FRP?
Most 4G networks use Carrier-Grade NAT (CGNAT), which means multiple users share the same public IP. This setup prevents direct inbound connections, making it impossible to access the Raspberry Pi remotely via traditional means. FRP works by creating an outbound connection from the Pi to a publicly accessible FRP server, which then forwards incoming requests back to the Pi.
Setup Overview
To get this working, I set up an FRP server (frps) on a VPS with a public IP and an FRP client (frpc) on the Raspberry Pi. The VPS acted as a middleman, allowing me to route traffic to my Pi securely.
1. Setting Up the FRP Server (frps)
I used a Linux-based VPS to host the FRP server. Here’s how I set it up:
Install FRP
1
2
3
git clone https://github.com/fatedier/frp.git
cd frp
make
Alternatively, you can download the precompiled binaries from the official FRP releases.
Configure frps.ini
Create a configuration file frps.ini with the following settings:
1
2
3
4
5
6
7
bindAddr = your-vps-ip
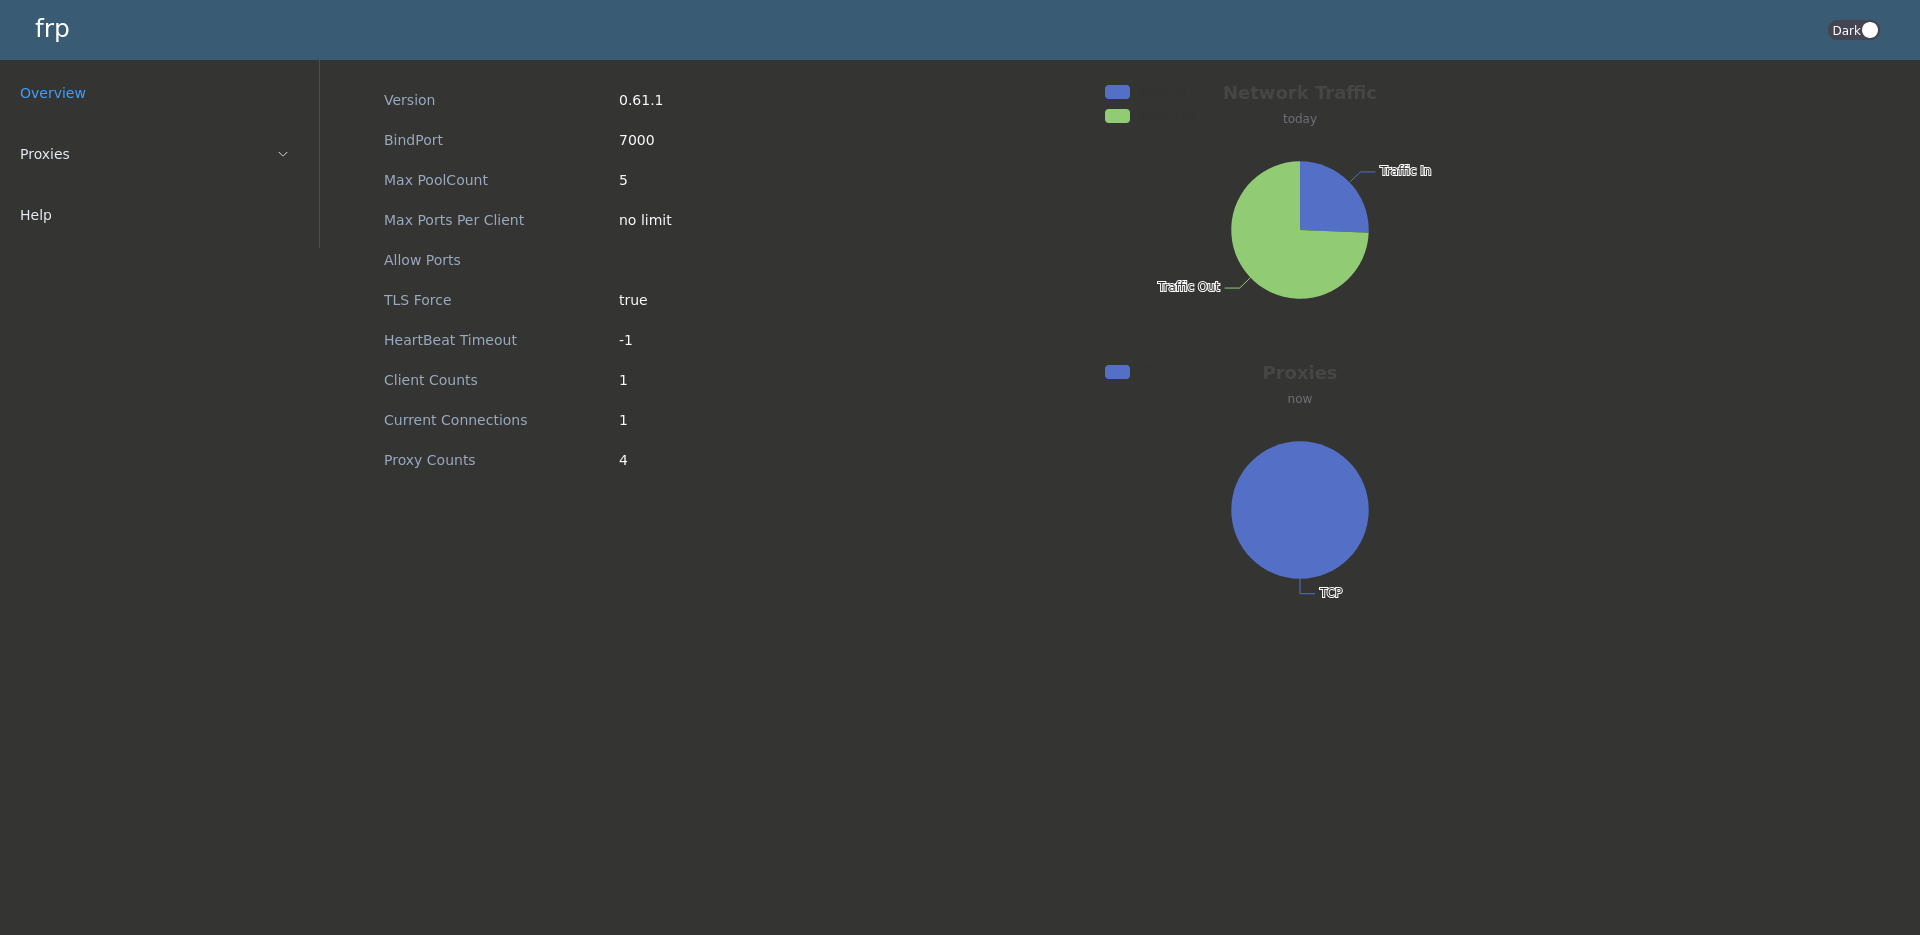
bindPort = 7000
webServer.port = 7500
webServer.user = "admin"
webServer.password = "strongpassword"
auth.method = "token"
auth.token = "mysecuretoken"
This sets up FRP to listen on port 7000 for incoming client connections.
Start FRP Server
Run the server with:
1
./frps -c frps.ini
To run FRP as a background service, consider using systemd.
2. Setting Up the FRP Client (frpc) on the Raspberry Pi
On the Raspberry Pi, I installed FRP and configured it to connect to the VPS.
Configure frpc.ini
Create frpc.ini with the following:
1
2
3
4
5
6
7
8
9
10
11
12
13
14
15
16
17
18
19
20
21
22
23
24
25
26
27
28
serverAddr = your-vps-ip
serverPort = 7000
auth.method = "token"
auth.token = "mysecuretoken"

[[proxies]]
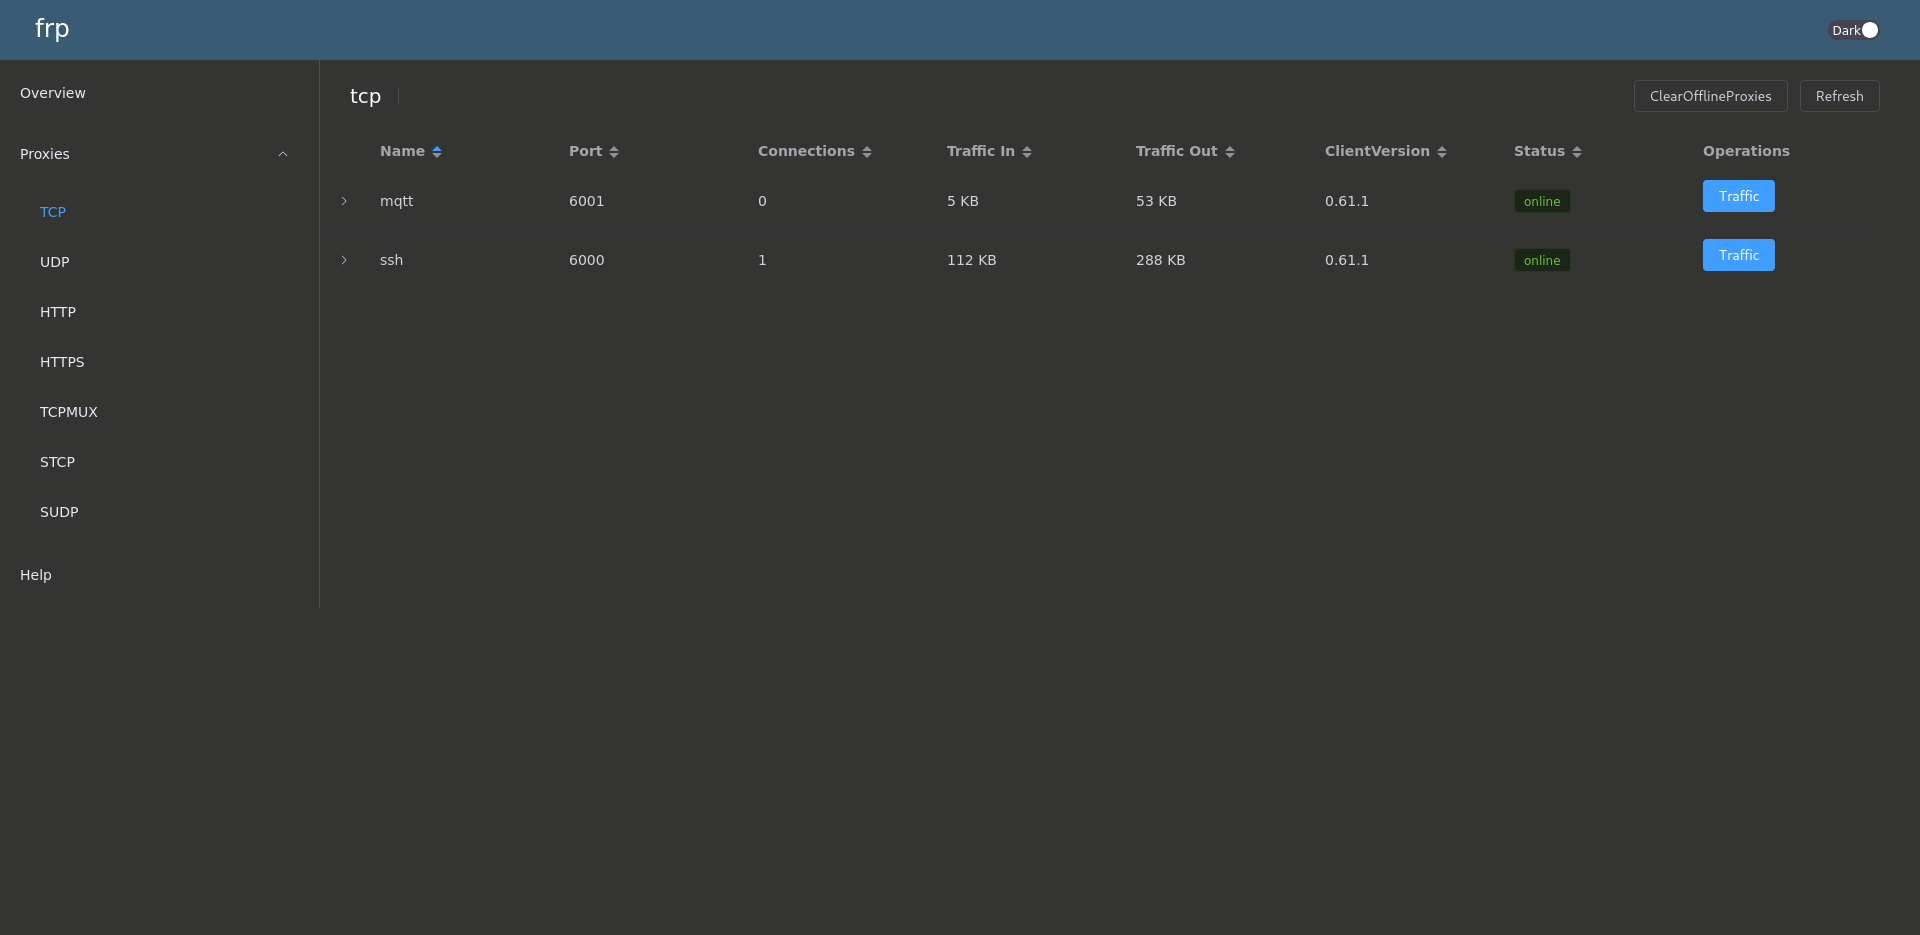
name = "ssh"
type = "tcp"
local_ip = 127.0.0.1
local_port = 22
remote_port = 6000
# If true, traffic of this proxy will be encrypted, default is false
transport.useEncryption = true
# If true, traffic will be compressed
transport.useCompression = true


[[proxies]]
name = "mqtt"
type = "tcp"
localIP = 127.0.0.1
localPort = 1883
remotePort = 6001
# If true, traffic of this proxy will be encrypted, default is false
transport.useEncryption = true
# If true, traffic will be compressed
transport.useCompression = true
- The
"ssh"section allows SSH access on port 6000 of the VPS. - The
"mqtt"section enables messaging between Raspberry Pi and VPS.
Start FRP Client
Run FRP on the Raspberry Pi:
1
./frpc -c frpc.ini
For persistence, run it as a systemd service.
3. Accessing the Raspberry Pi
Once FRP was running on both ends, I could connect to my Raspberry Pi remotely:
- SSH Access:
1
ssh pi@your-vps-ip -p 6000
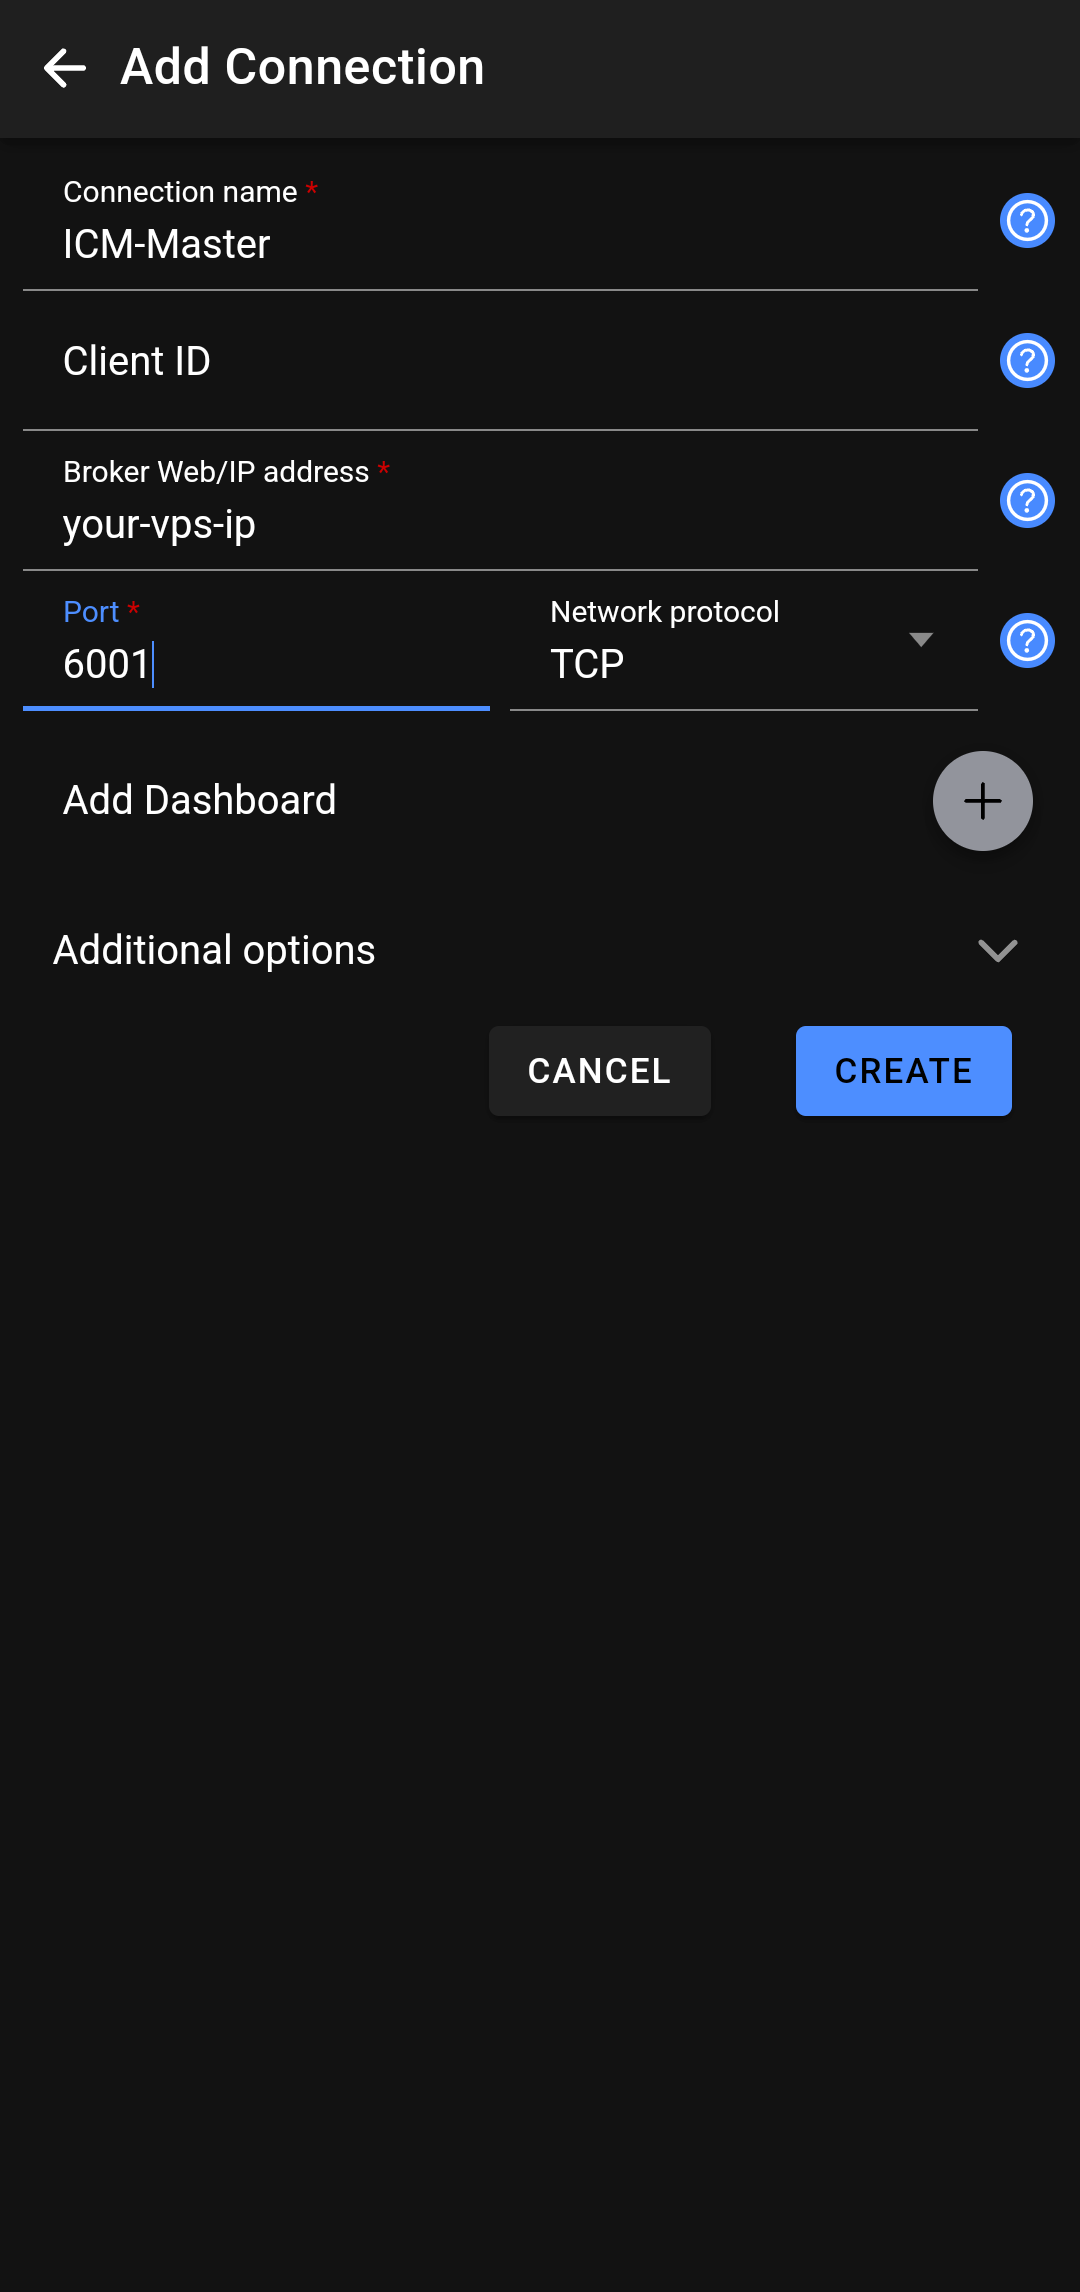
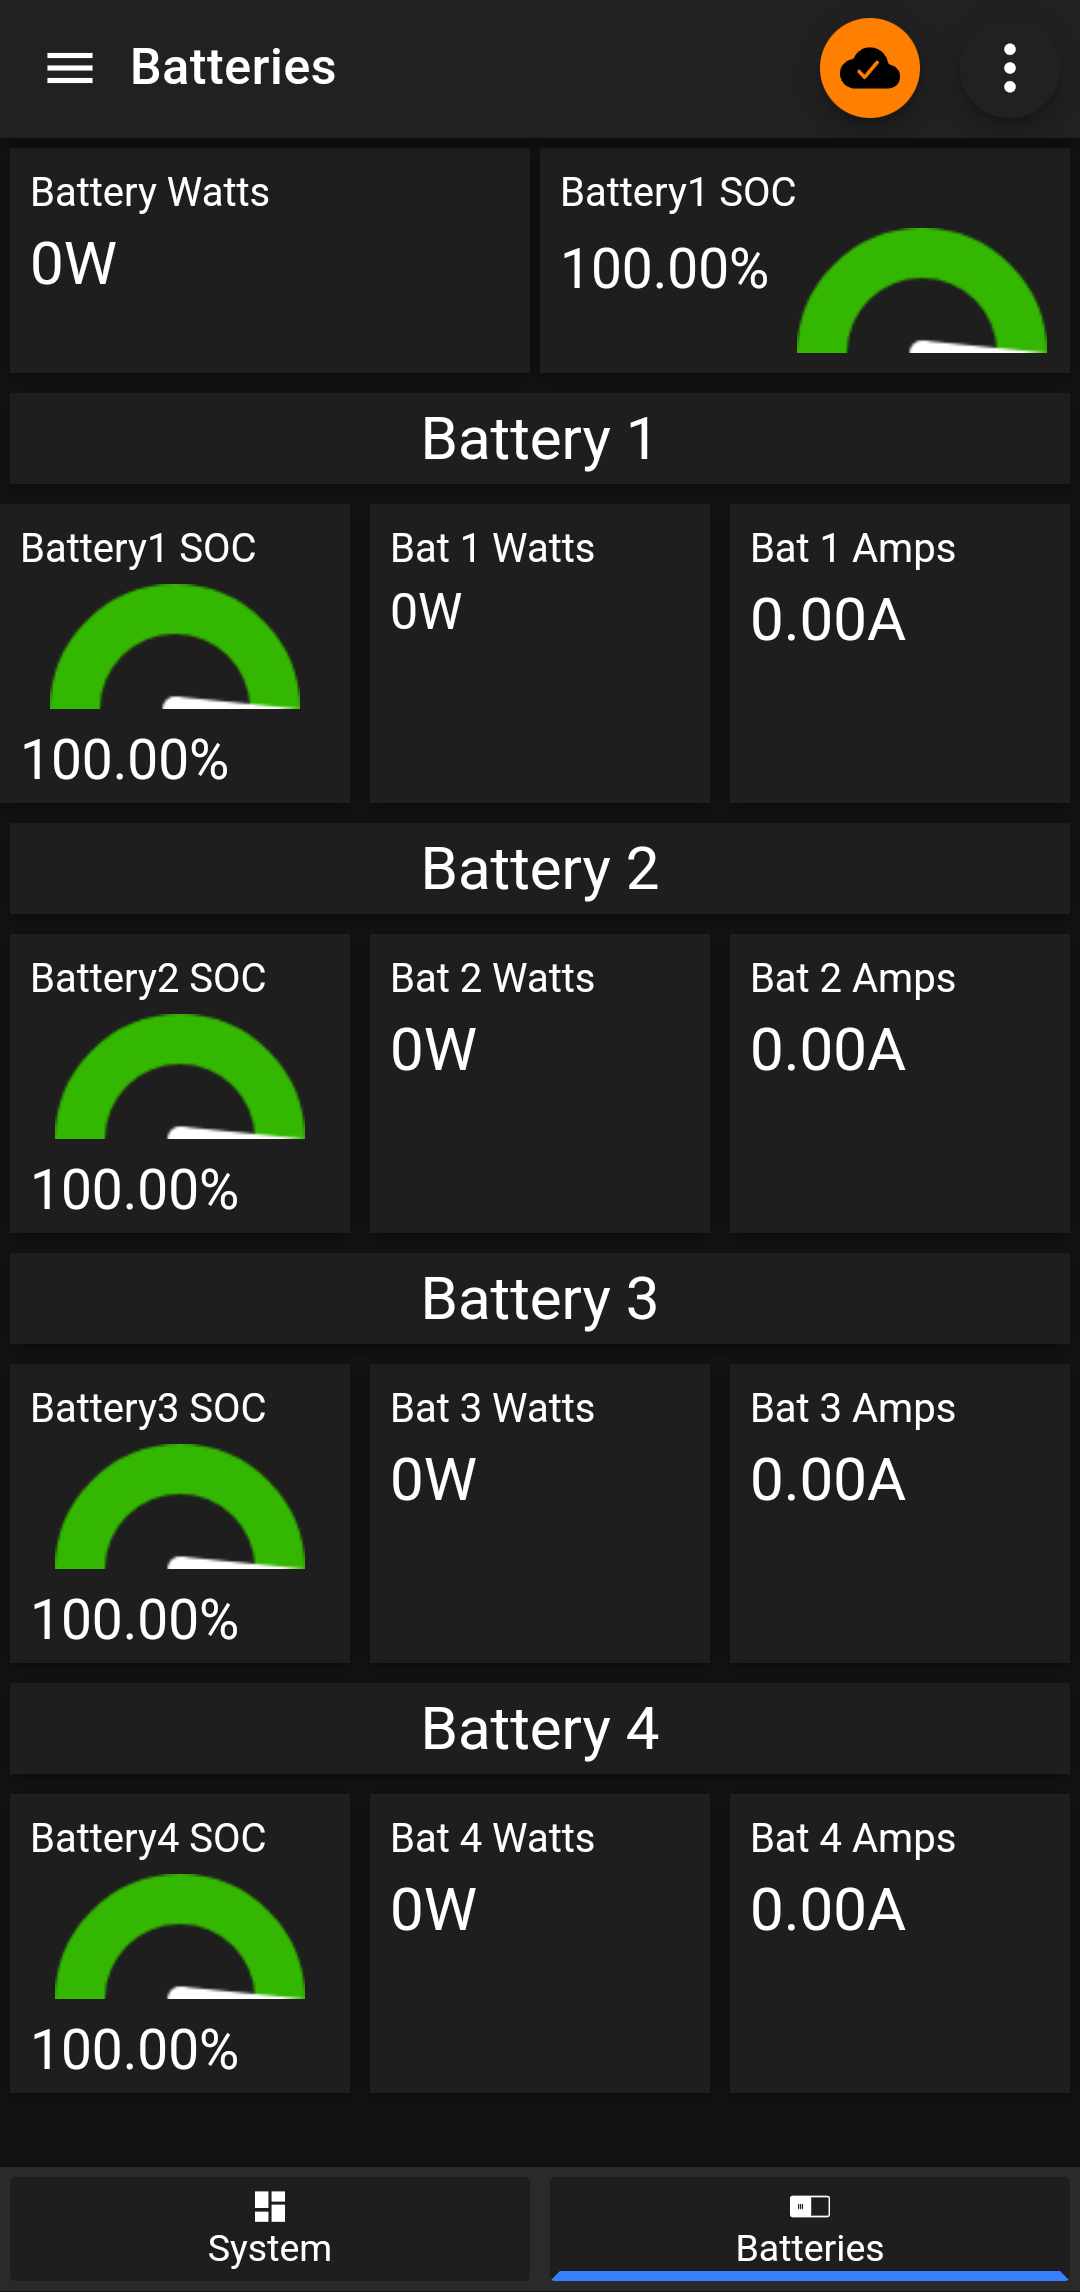
MQTT Access: I installed the IoT MQTT Panel on my phone, configured it with
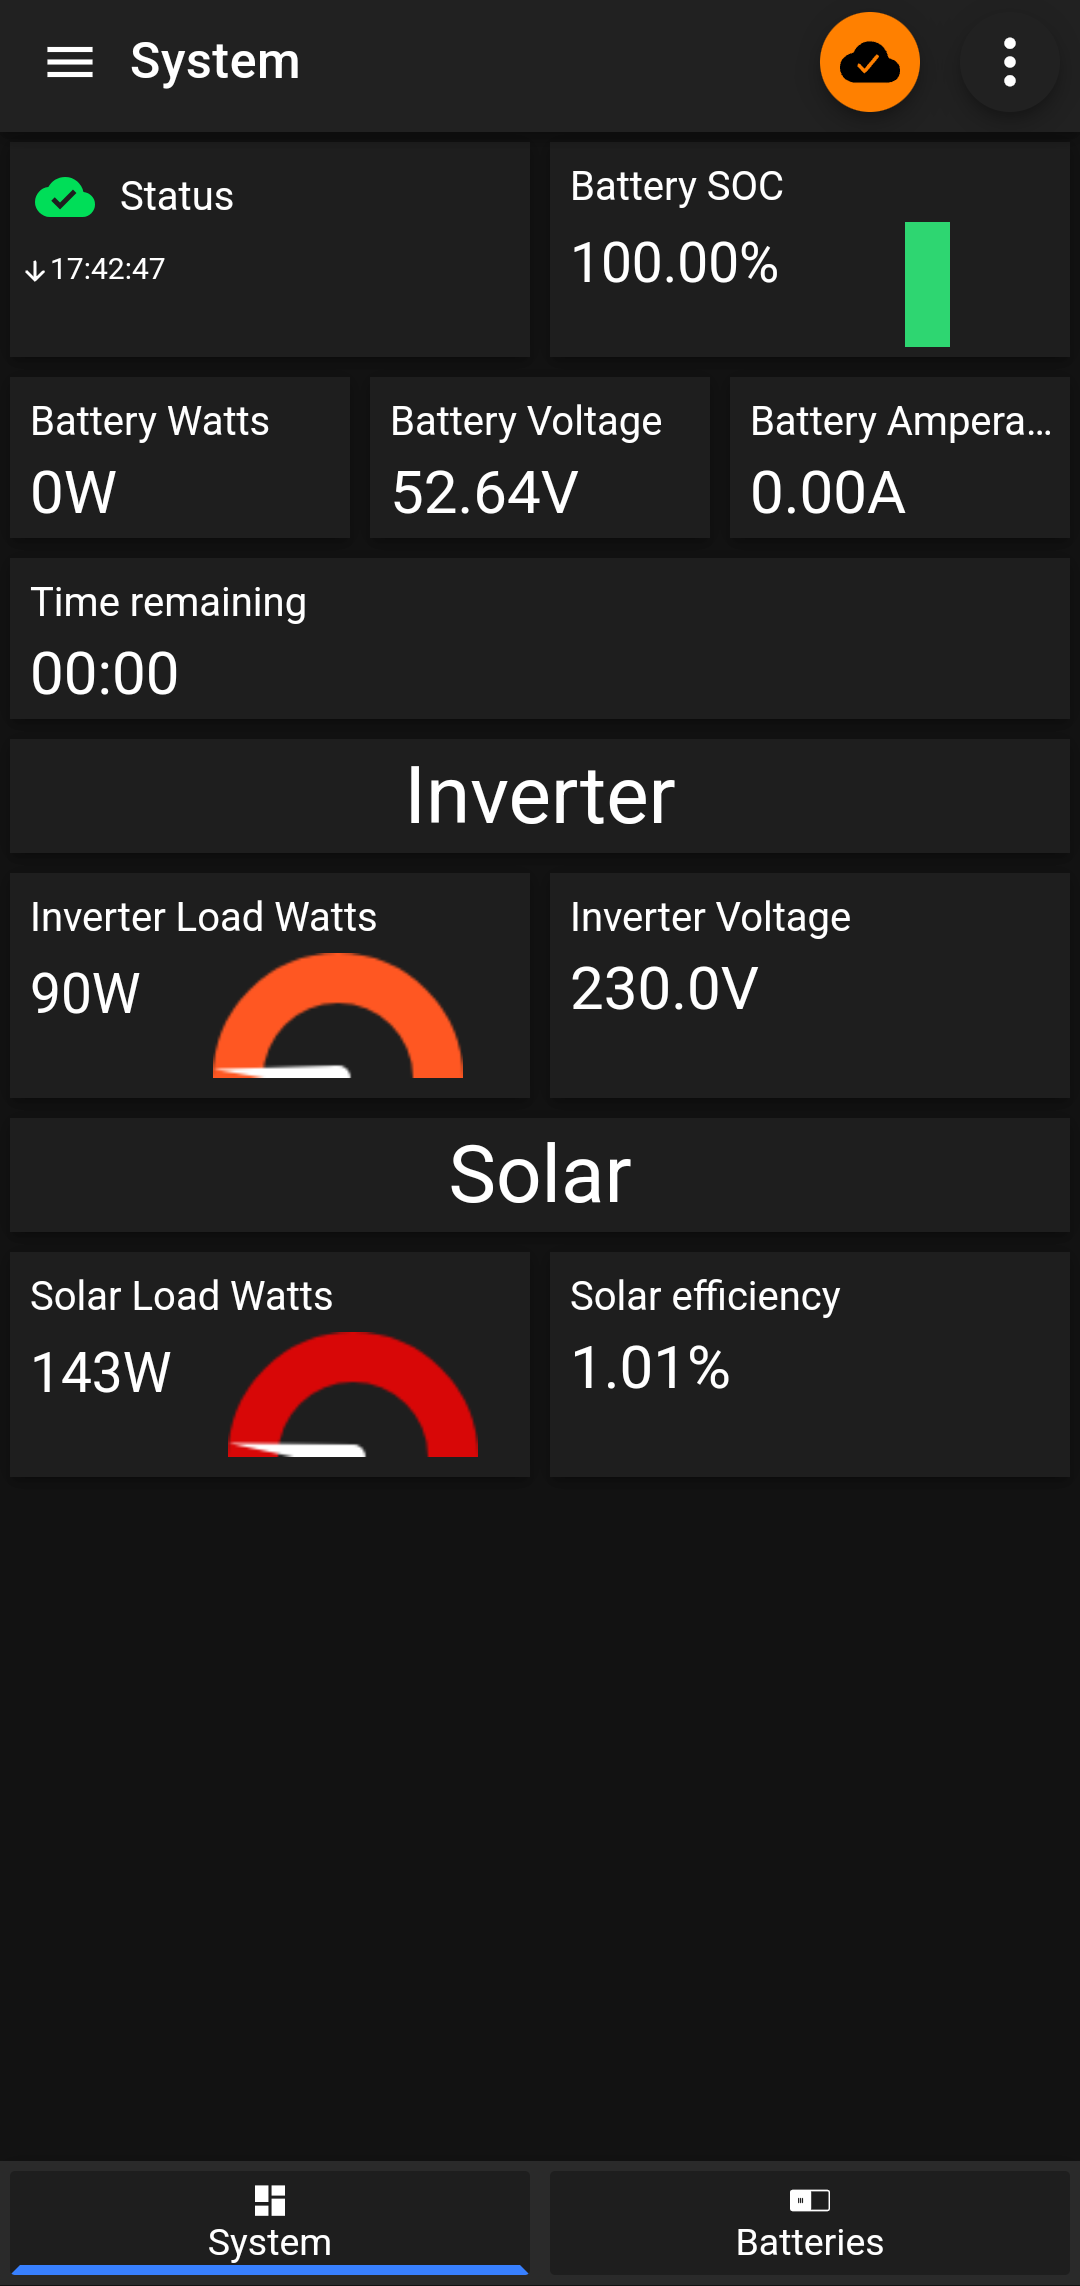
your-vps-ipand port6001, and was able to obtain data from the ICM-PI Solar Software.
Security Considerations
Since this setup exposes services over the internet, I took the following security precautions:
- Used SSH keys instead of passwords.
- Enabled firewall rules on the VPS to allow only specific IPs.
- Configured fail2ban to block brute-force attacks.
- Secure MQTT connection with username and password authentication and consider using TLS/SSL encryption for secure communication.
Conclusion
Using FRP, I was able to access my Raspberry Pi 4 remotely despite being behind a 4G router with CGNAT. This solution is lightweight, efficient, and works well for remote administration, IoT projects, and self-hosted services.
If you’re struggling with a similar issue, FRP is an excellent tool to consider. Give it a try and take control of your remote devices!
